Last Updated: July 2023
This is where the invoices (Bills) from the trades and suppliers are applied against the original Trade Area allowances to create a Payment Claim. The Payment Claim outlines the invoices to be paid and is presented to the project owner before the payments are made to the trades and suppliers from the Joint Security Account.
Step 1 Select the Job and select Payment Claims from the ribbon at the top.

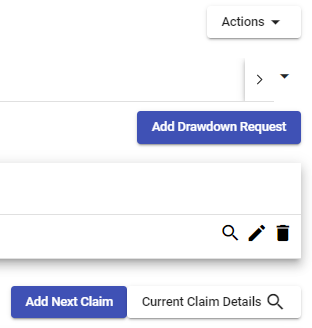
Step 2 Select Add Next Claim.
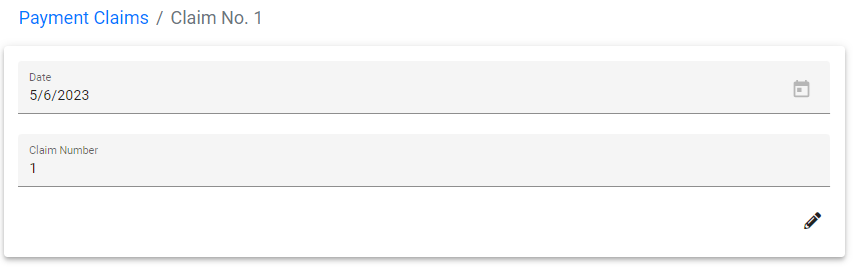
Step 3 Add the Claim Date and leave the Claim Number as is. Save.
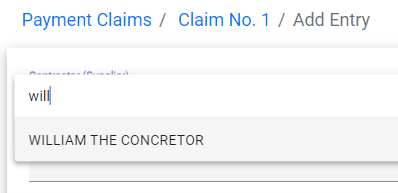
Step 4 Select Add Entry. Select the Contractor (Supplier) from the dropdown that you have entered a Bill for.
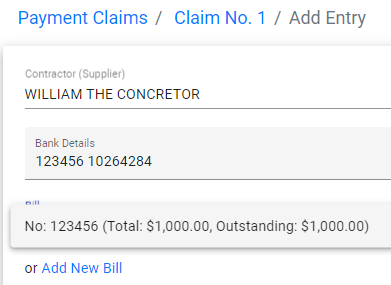
Step 5 At Bill select the Bill that will be shown in the Bill list, or you can add a new Bill on the fly.
NOTE: If a Bill has already been added to a Claim, it will not show up in the dropdown list.
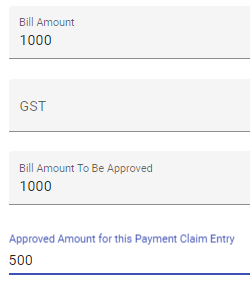
Step 6 At Approved Amount there is an option to manually enter the approved amount, eg. A contractor has sent an invoice for the works that is not quite complete, so you can approve a portion of the invoice to be claimed.
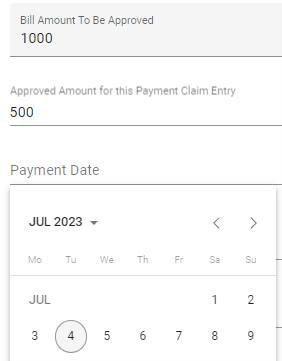
Step 7 At Payment Date, this is to be edited once the payment from the Security Account is made. Leave empty until the payment is approved.
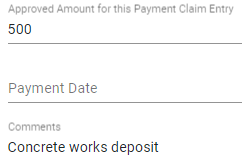
Step 8 At Comments, you can add text that might be needed to better describe the item. In this example, you can add, Concrete works deposit.
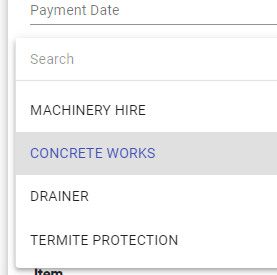
Step 9 At Trade Area, select the appropriate Trade Area where the allowance for the Bill will be found. For this example, it is Concrete Works.
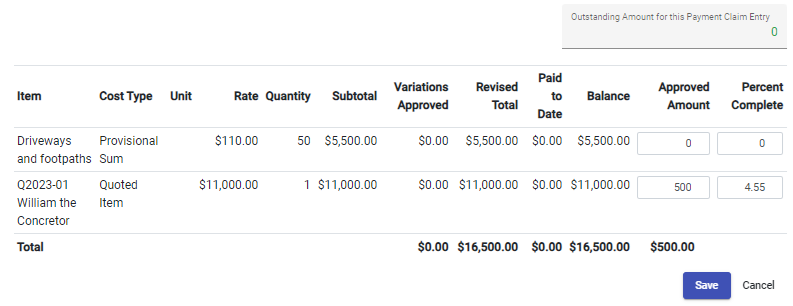
Step 10 The allowance for the Approved Amount is now to be claimed against one of the line items within the Trade Area. As William the Concreter has provided a quote for the works, this amount will be applied against the quoted line item.
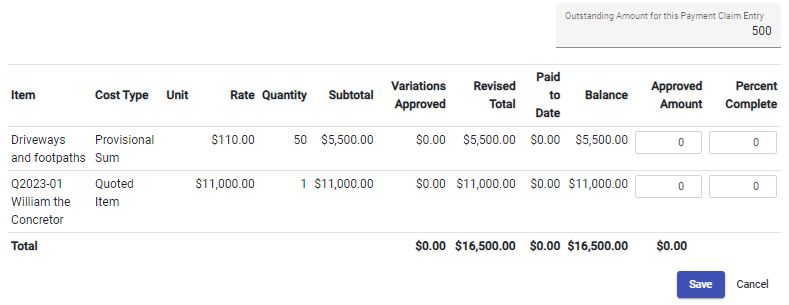
Step 11 Enter the Approved Amount in the cell beside the line item, noting the Outstanding Amount for this Payment Claim Entry is showing $0 as the entire amount has been applied successfully. Save.
Step 12 You can see the Claim for William the Concreter is showing in the Claim List. As you add more Bills by clicking Add Entry, the Claim list will grow, making up the Claim.

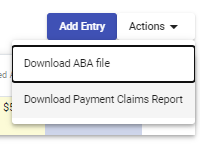
Step 13 To present a Claim Summary to the project owner, select Actions and select Download Payment Claims Report.
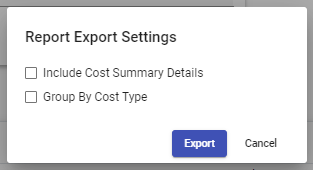
Step 14 You will be prompted to customise the report, but generally, do not select any of the tickboxes, as you only need to provide a summary report, rather than showing all details. Select Export.
Step 15 A PDF of the Payment Claims Summary Report will download to the Downloads folder on your computer.
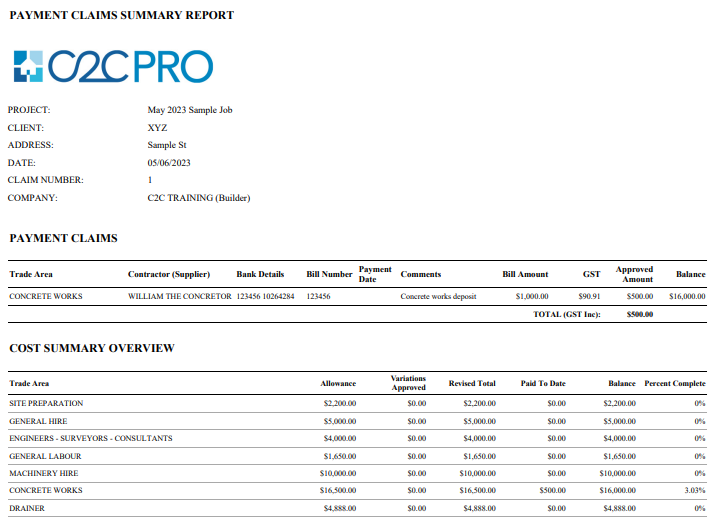
You will note the top section outlines the Bills to be claimed, and the lower section outlines all the Trade Areas and where funds have been allocated to be claimed. Looking at Concrete Works, you will see the funds allocated in the Summary. At the lower section of the Summary, you will note the total expenditure to date on the project.

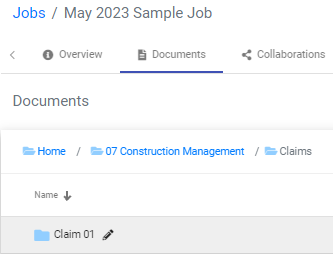
Step 16 Save this report, along with PDF copies of the trades and suppliers invoices, in the Document Store in the relevant claim number. Email all documents to the project owner for their approval.
Still Need Help? Please contact the team at C2CPRO via email at admin@c2cpro.com.au or book a call to schedule a dedicated time with one of the team.