Last Updated: May 2023
After creating a Job, you will create an Estimate. This is where the data for the project will be entered to use the Xplorer or the Discovery or to access the Master Cost Assembly. Generally, the first step is to create a Discovery.
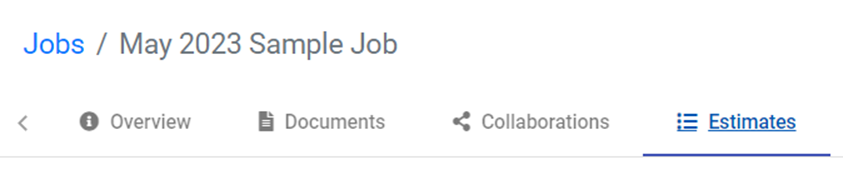
Step 1 Select the Job you wish to create an Estimate for.
Step 2 Select Estimates in the ribbon across the top.
Step 3 Select Create.

Step 4 Add the name of the Estimate, eg. 2001-Smith-Estimate 01.
It is suggested to number the Estimates as it is likely that multiple Estimates will be created, so numbering them or adding revisions is advised in case previous Estimates need to be accessed.
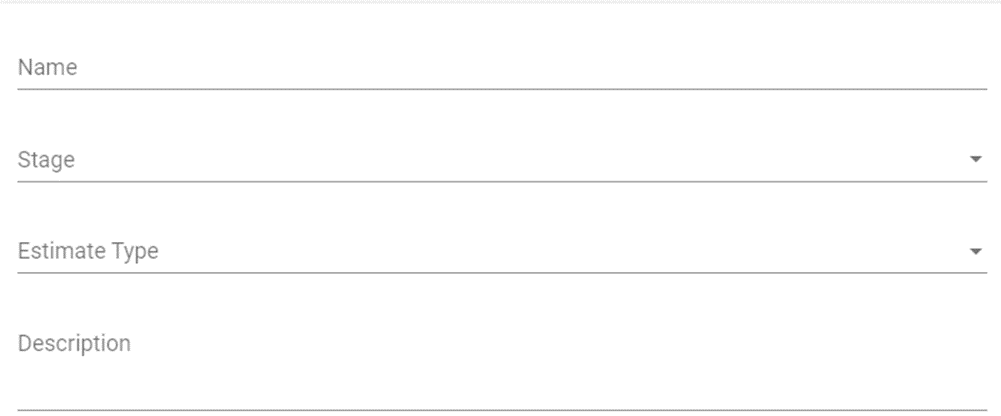
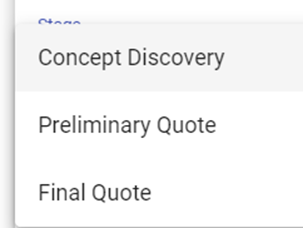
Step 5 Select the Stage of the Estimate.
Step 6 Add a brief description of the project, or scope of the Estimate, eg. House-pool excluded.
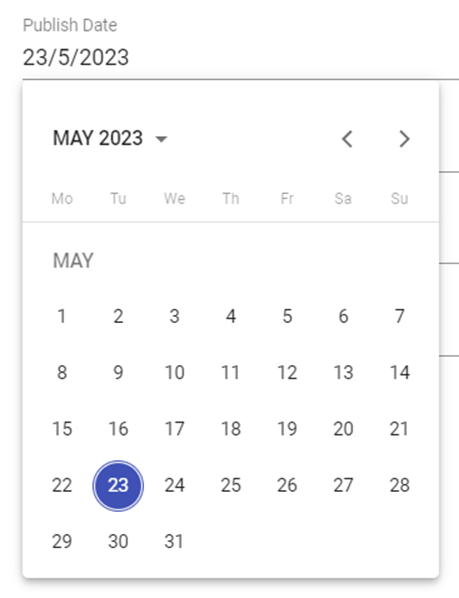
Step 7 Add relevant dates.
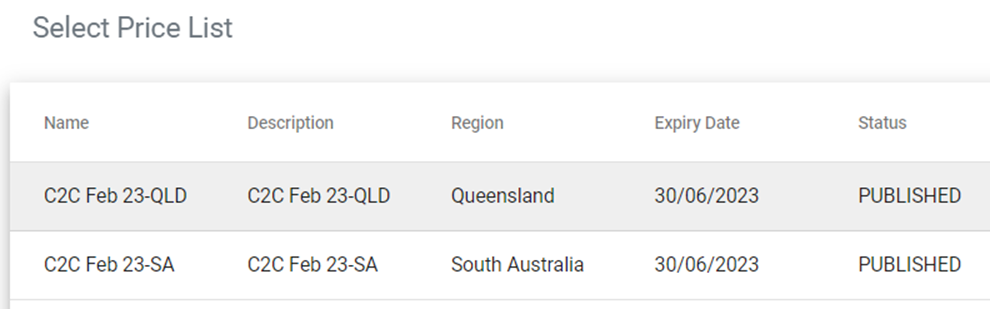
Step 8 Either leave the Pricelist as the default, or select from the pop up list.
Step 9 The Software Version is to remain as is.
Step 10 Save.
You will note at the Job Overview that this Estimate will be shown as the Primary Estimate.

The data used for reporting, Shopping List, Cost Summary and other modules is all read from the Primary Estimate.
If you ever Duplicate an Estimate to create updated Estimates or make changes, always ensure the correct Estimate is set to be the Primary Estimate so that data collected and used is correct.
Still Need Help? Please contact the team at C2CPRO via email at admin@c2cpro.com.au or book a call to schedule a dedicated time with one of the team.