Last Updated: May 2023
The Master Cost Assembly (MCA) is the detailed estimating component that is used to create the transparent cost reports to develop a contract price. The data from the Discovery is reflected in the Master Cost Assembly, so when using the Master Cost Assembly after completing a Discovery, it makes it easy to create a more detailed estimate for the Project Owner.
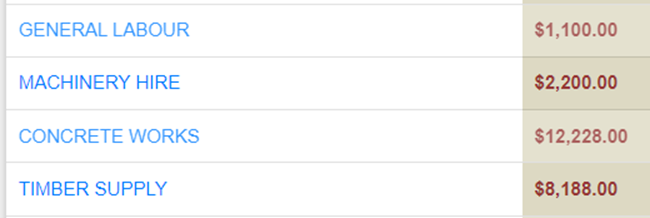
Upon accessing the MCA, you will find four columns. The first is the list of the Trade Areas; the second is the cost data taken from the Discovery; the third is the Master Cost Assembly data, which shows the cost information when preparing the detailed estimate; and the fourth column, which shows the variance between the cost outputs of the Discovery and the MCA.
When you have completed a Discovery, you can view the Master Cost Assembly and go over the cost allocations to each Trade Area to assess the costs. This is how you can do a final check of the Discovery before presenting to the Project Owner, ensuring that you are satisfied with the costs and the overall estimate outcome.
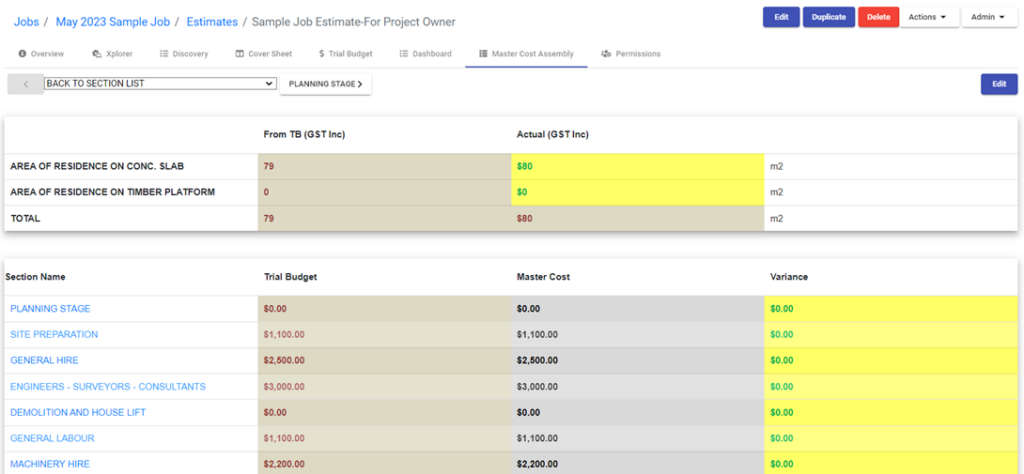
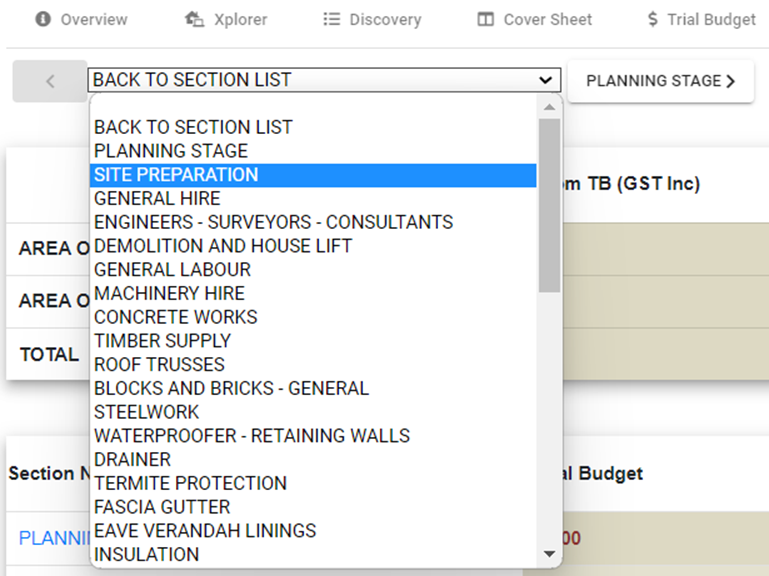
To access each Trade Code, click on the dropdown to select the section you wish to navigate to. Alternatively, you can click on the navigation arrows to the left or right, to take you to the next or previous page.
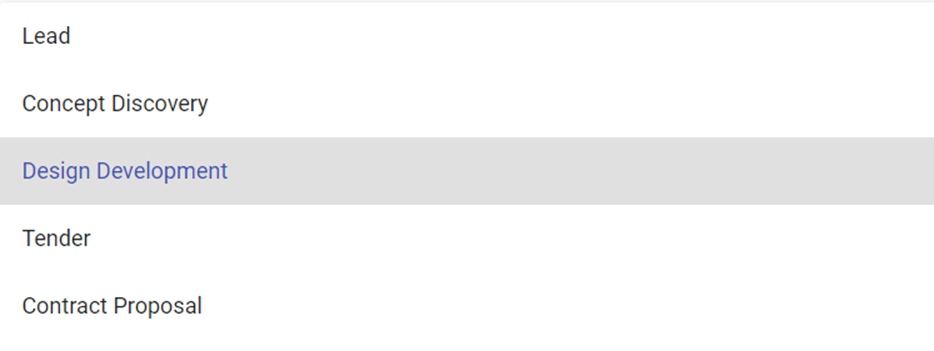
Step 1 Select the Job you want to edit the MCA. At Job Overview, Edit, and change the Job Status to Design Development. Save.
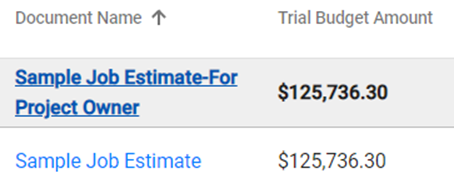
Step 2 Select Estimates. Select the appropriate Estimate you wish to Edit, and ensure it is the Primary Estimate (in blue bold font).
Step 3 Select Master Cost Assembly.

Step 4 Select the Trade Area you wish to Edit. We will be using Concrete Works as the example Trade Area. Select Edit at the top right.
The following is an overview of the elements of the Trade Area for Concrete Works. Most Trade Areas are set up the same, however some may vary, depending on the detail of the Trade Area.
If you have a quote from a trade or supplier, you add the quote details at the top green section.

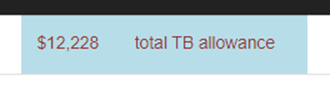
At the top right in the pale blue cell, there is the allowance for the Trade Area that was made when a Discovery was completed. This can be used as a reference when fine tuning the MCA.
The below section outlines individual preset line items that relate to the Trade Area.
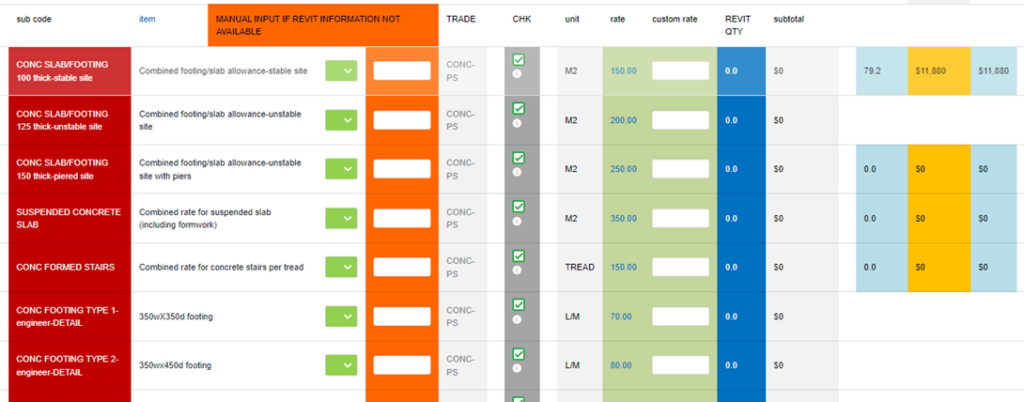
You will note there are cells to the right. These cells are showing data from the Discovery, so for the Concrete Works example, this is the area of concrete slab in the project based on the rooms added in the Discovery.

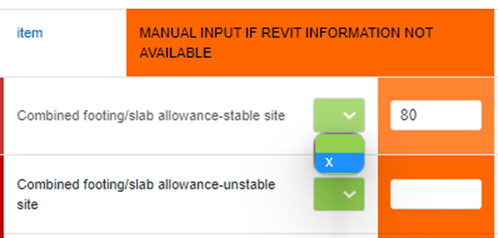
To add this concrete slab area to the MCA to start building up the price, you add the area as shown in the blue cell to the orange cell. Then the allowance will show.

Some cells within the MCA allow the data to ‘move’ to the MCA, so you may not need to transfer the data to the orange cell.
If you use a third party program to to take offs (suggested), you can use this data to over ride the Discovery data.
If you have a quote that you would like to add to the green section, and the line items are reflecting items that are in the quote, you can use the green drop down and select X to remove the allowance.
You can also use the checkbox to remove a line item.


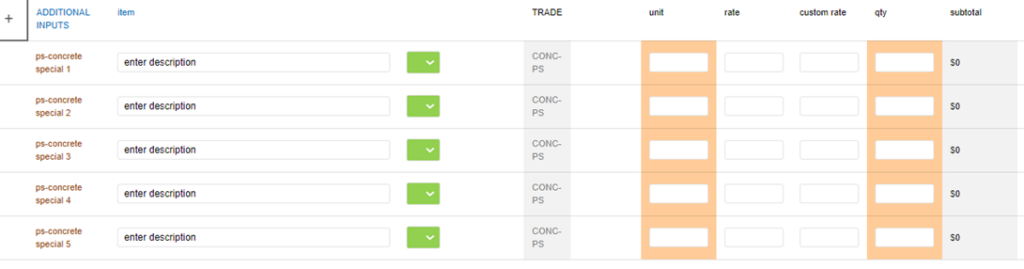
If there are line items that aren’t shown in the Trade Area that are relevant to the project, you can add custom lines at Additional Inputs. By selecting the plus sign, the Additional Inputs open and you can add these items here.
Still Need Help? Please contact the team at C2CPRO via email at admin@c2cpro.com.au or book a call to schedule a dedicated time with one of the team.